
How to Draw a Glossy Heart Lollipop in Procreate (Step-by-Step + Freebie)

This month we’re doing something a little different.
Instead of exploring an art style, we’re focusing on just one thing: RED ❤️

In this Procreate tutorial, I’ll show you step by step how to create a glossy, heart-shaped lollipop just in time for Valentine’s Day. You’ll learn how to build the base shape, add depth and grain, create realistic reflections, and achieve that candy-glass transparent effect.
If you’re into digital illustration and want to master glossy 3D effects in Procreate, this tutorial is for you.
Free Brush Set + Color Palette
If you want to follow along more easily, you can download the free brush set and color palette used in this tutorial.
The free download is hosted in a Patreon post (no paid membership required.)

Prefer reading? Follow the step-by-step below.
What You’ll Learn
- How to create a clean heart shape using symmetry in Procreate
- A simple method to build dimensional depth (without overcomplicating layers)
- How to shade candy so it feels solid but still translucent
- The reflection stack that sells the glossy glass effect
- How to use Multiply, Overlay, and Add blending modes for realistic shine
Tools You’ll Need
- iPad + Procreate
- Any clean inking brush (or the free brush set included)
- The tutorial color palette
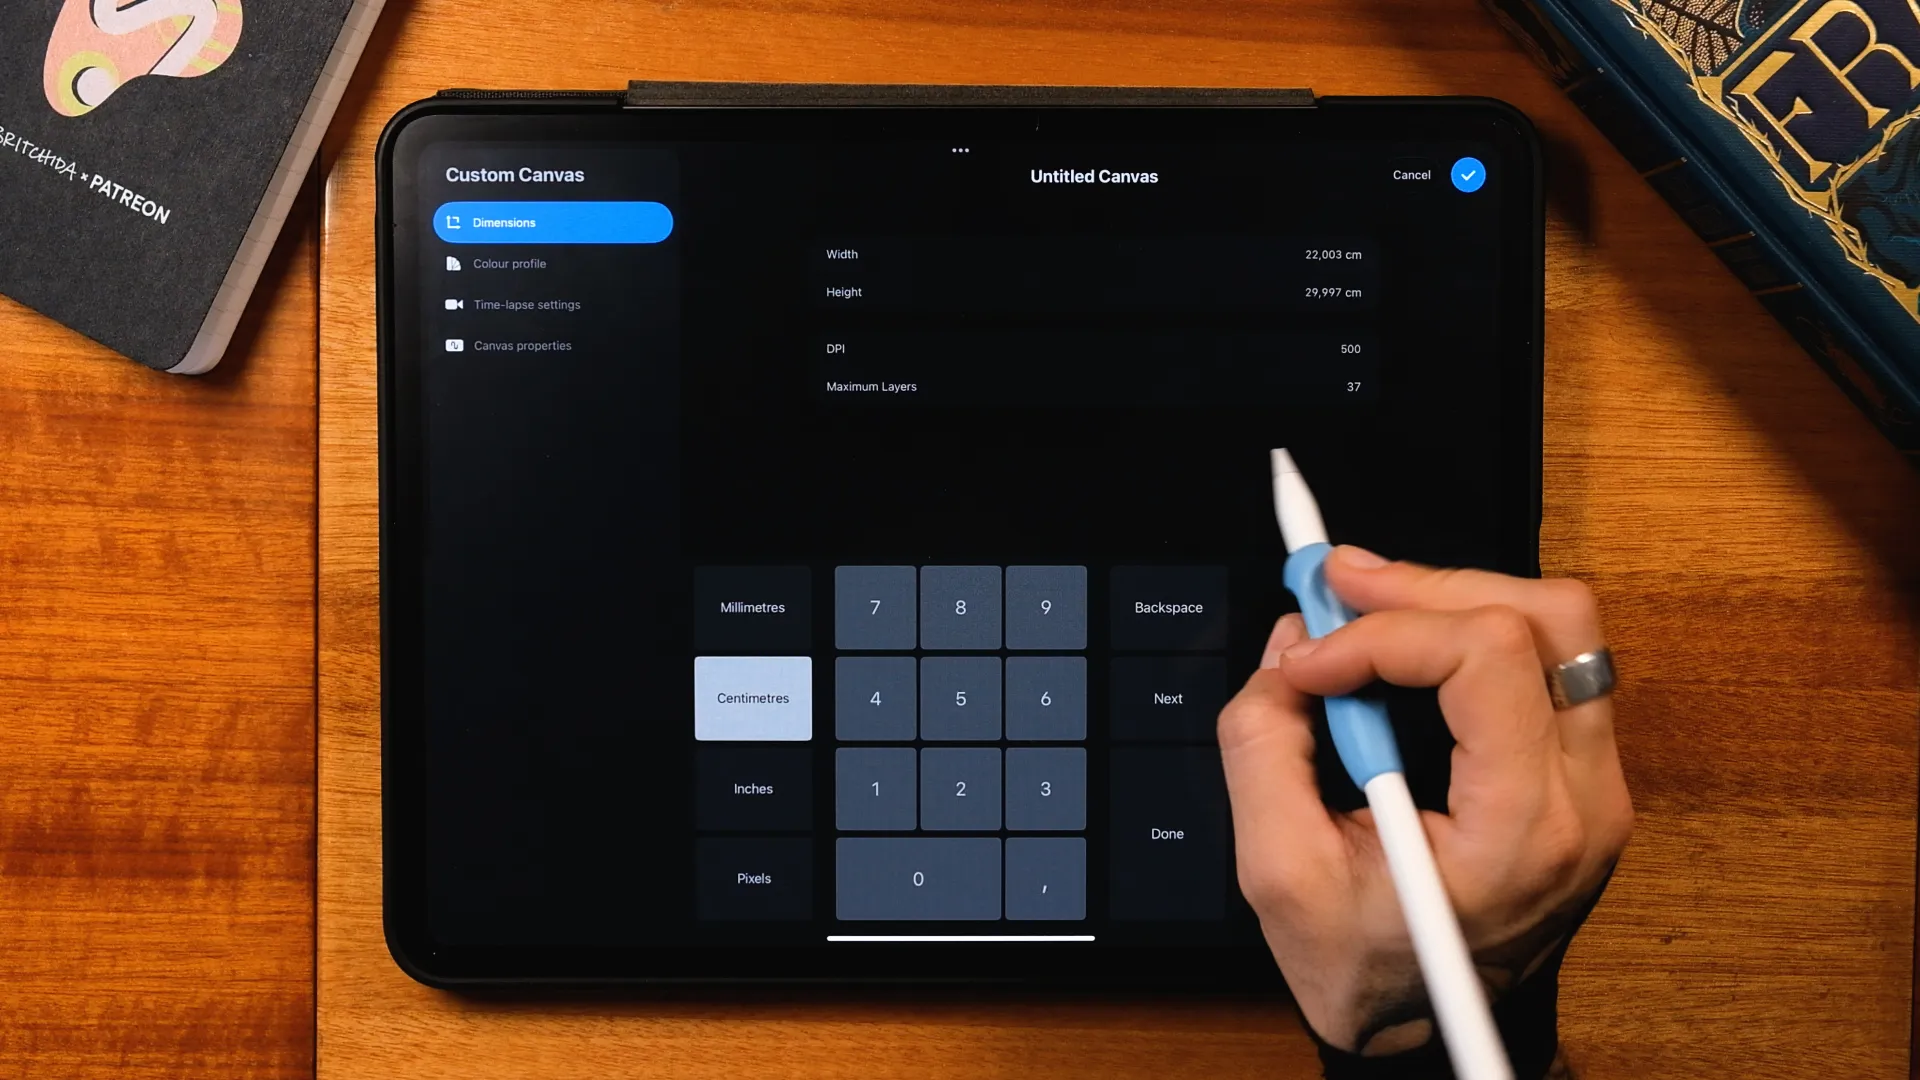
1. Create Your Canvas
Create a new canvas at 22 × 30 cm.
Set the DPI to at least 300 for print flexibility.
Keep the color profile in RGB for brighter tones.
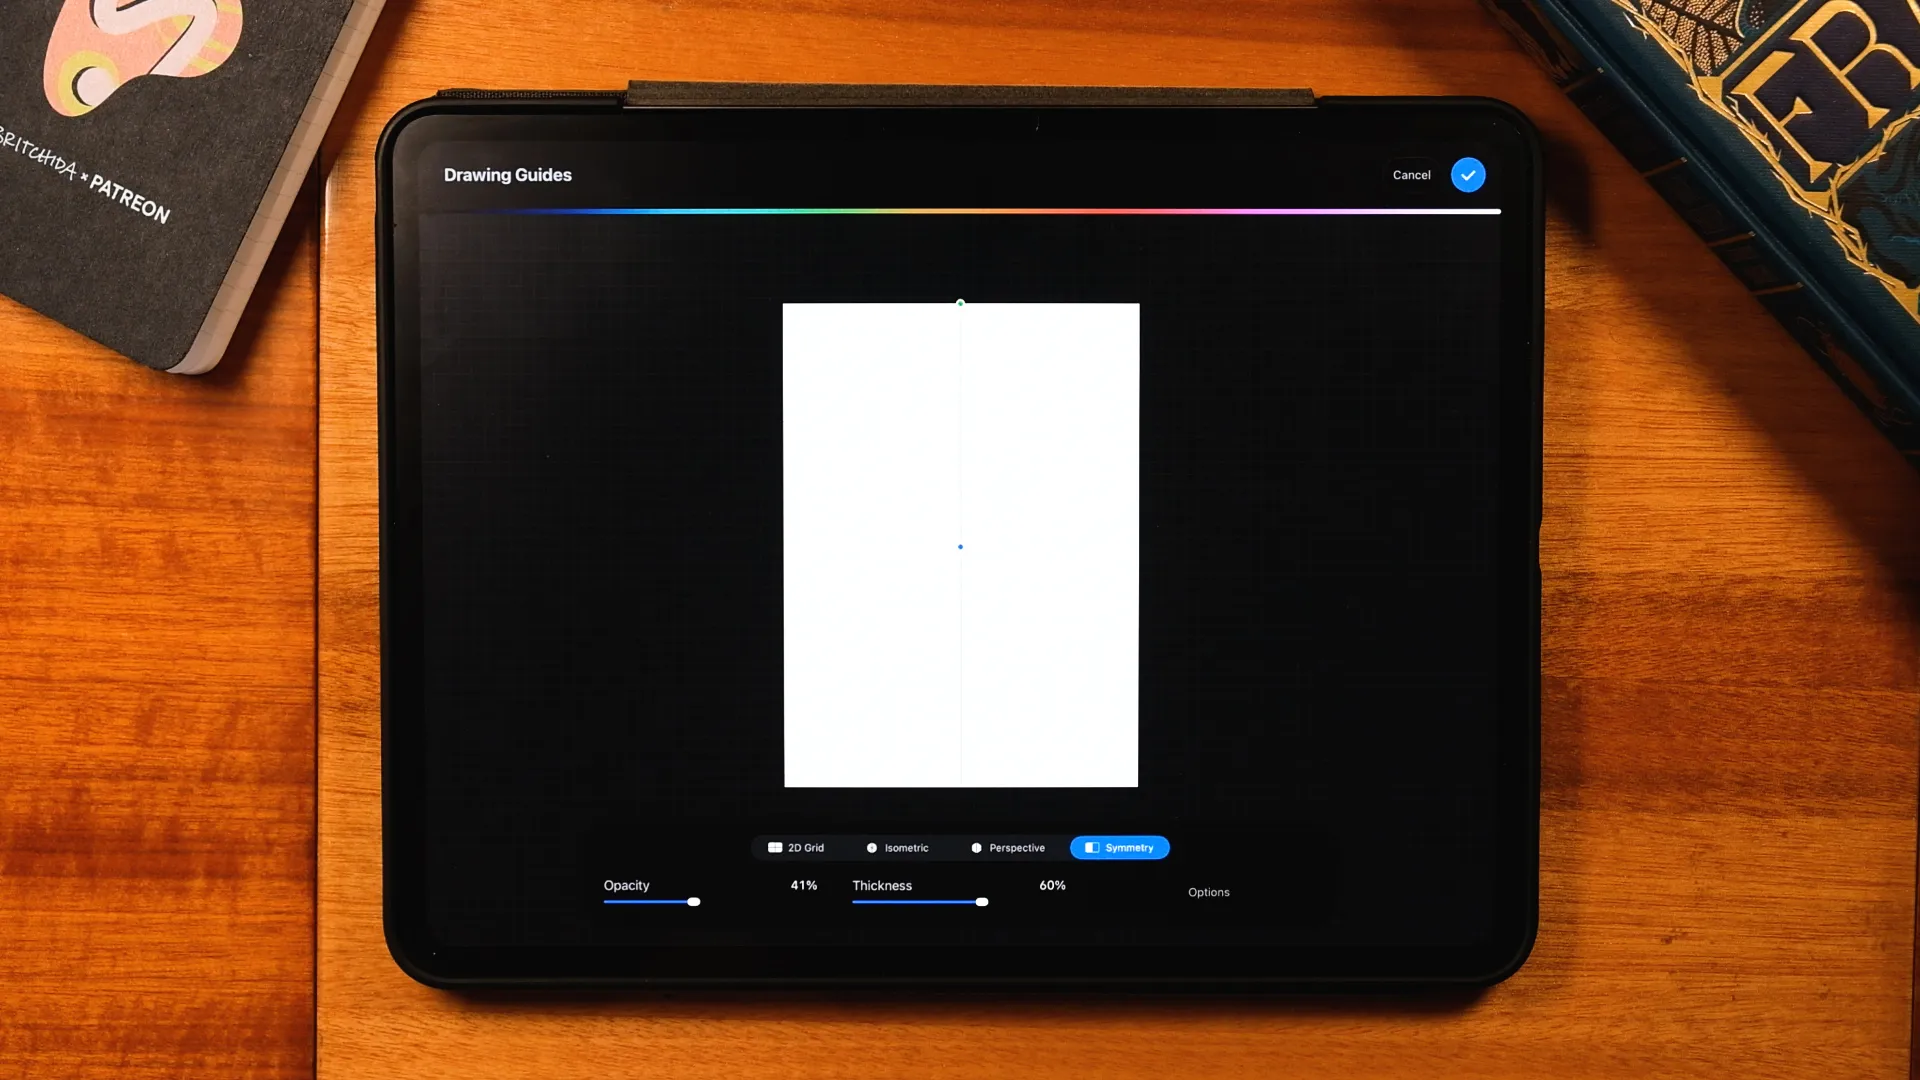
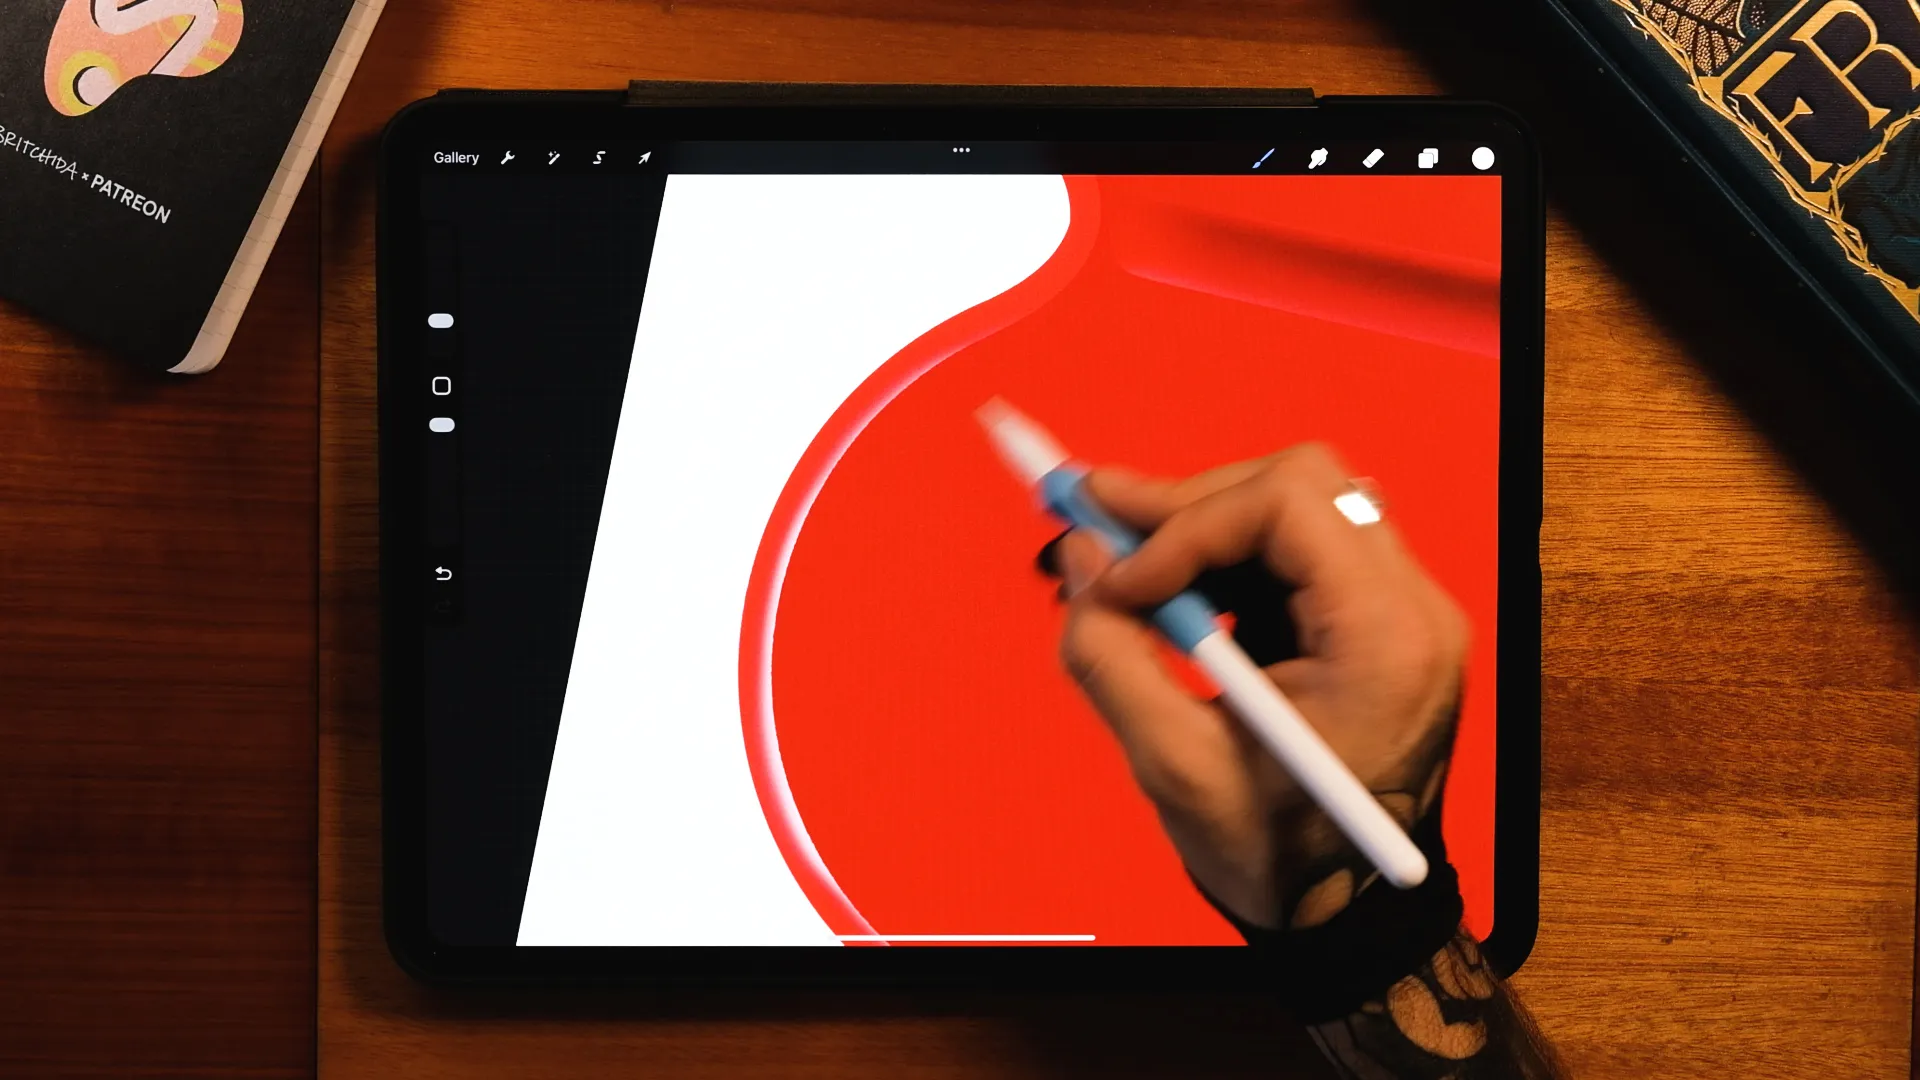
2. Turn On Symmetry
Go to:
Actions → Canvas → Drawing Guide → Edit Drawing Guide → Symmetry
This will mirror your strokes and help you build a clean heart shape much faster.
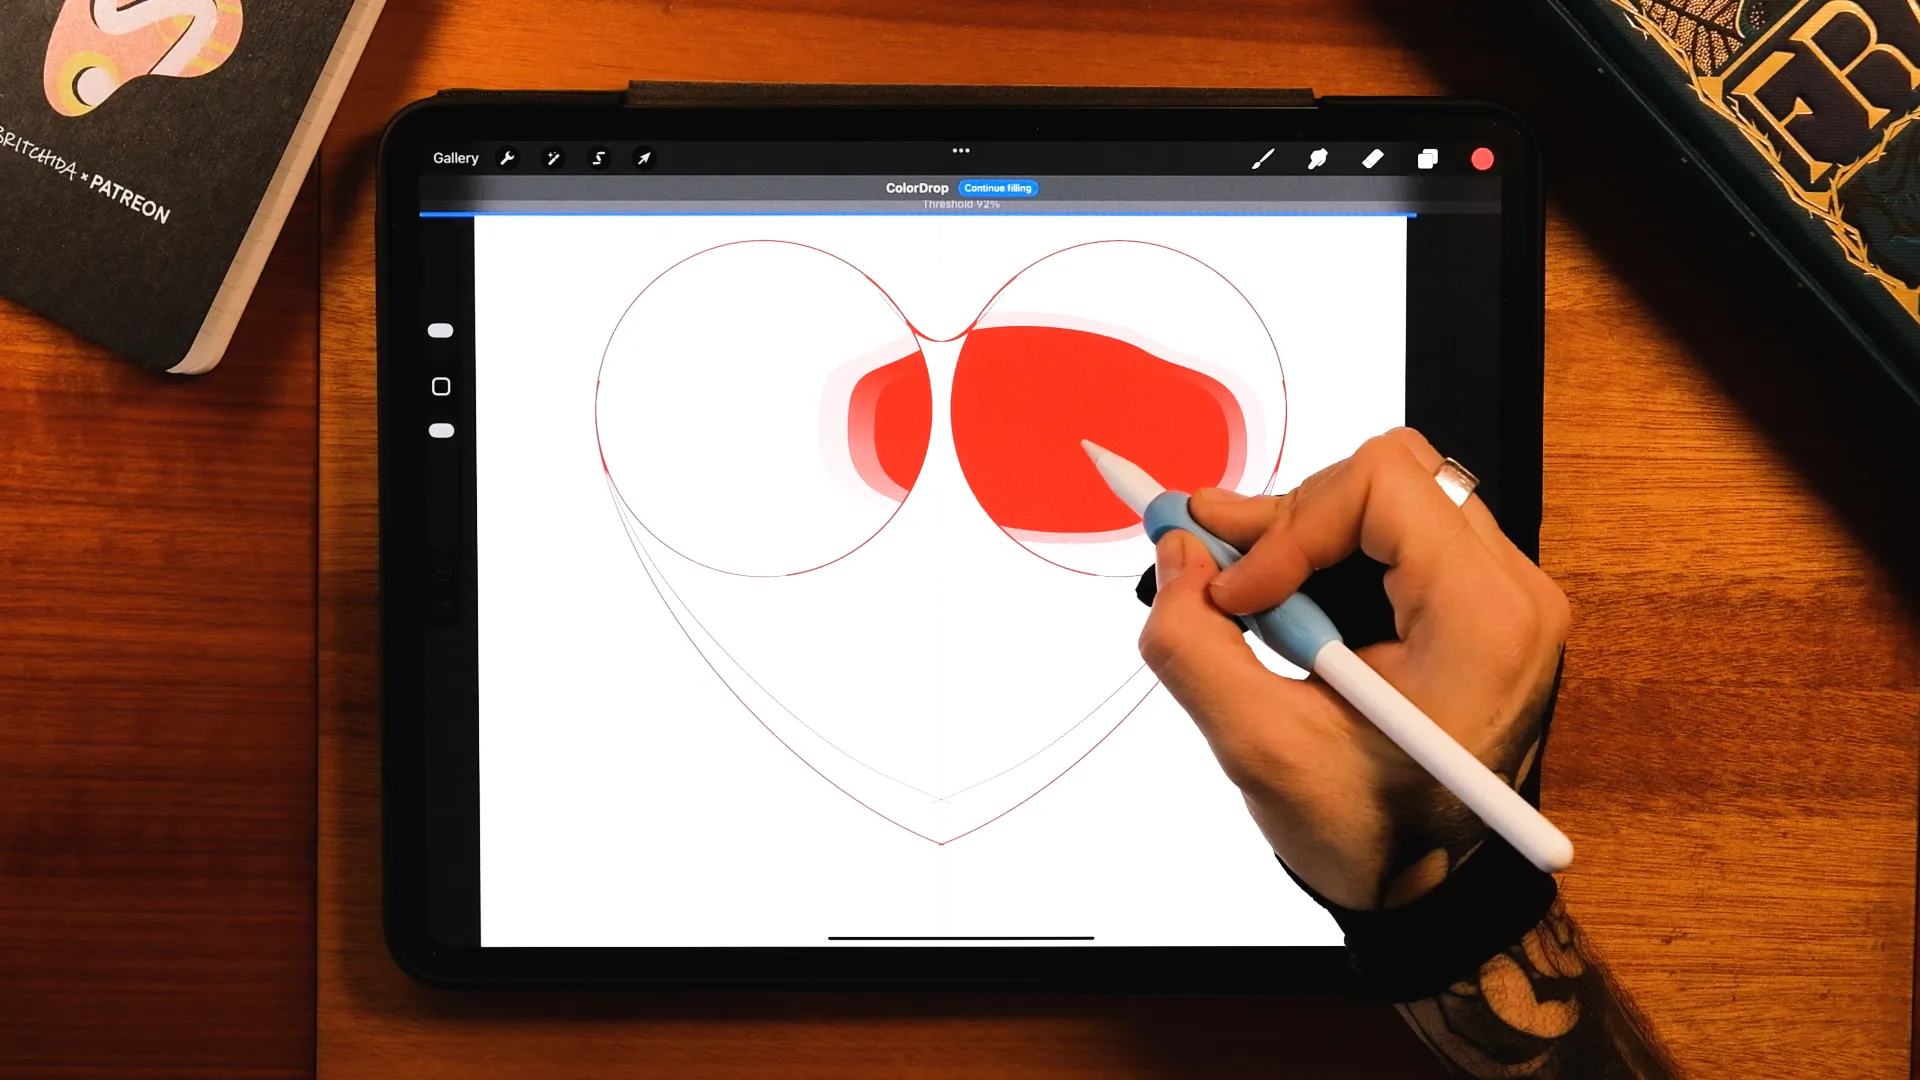
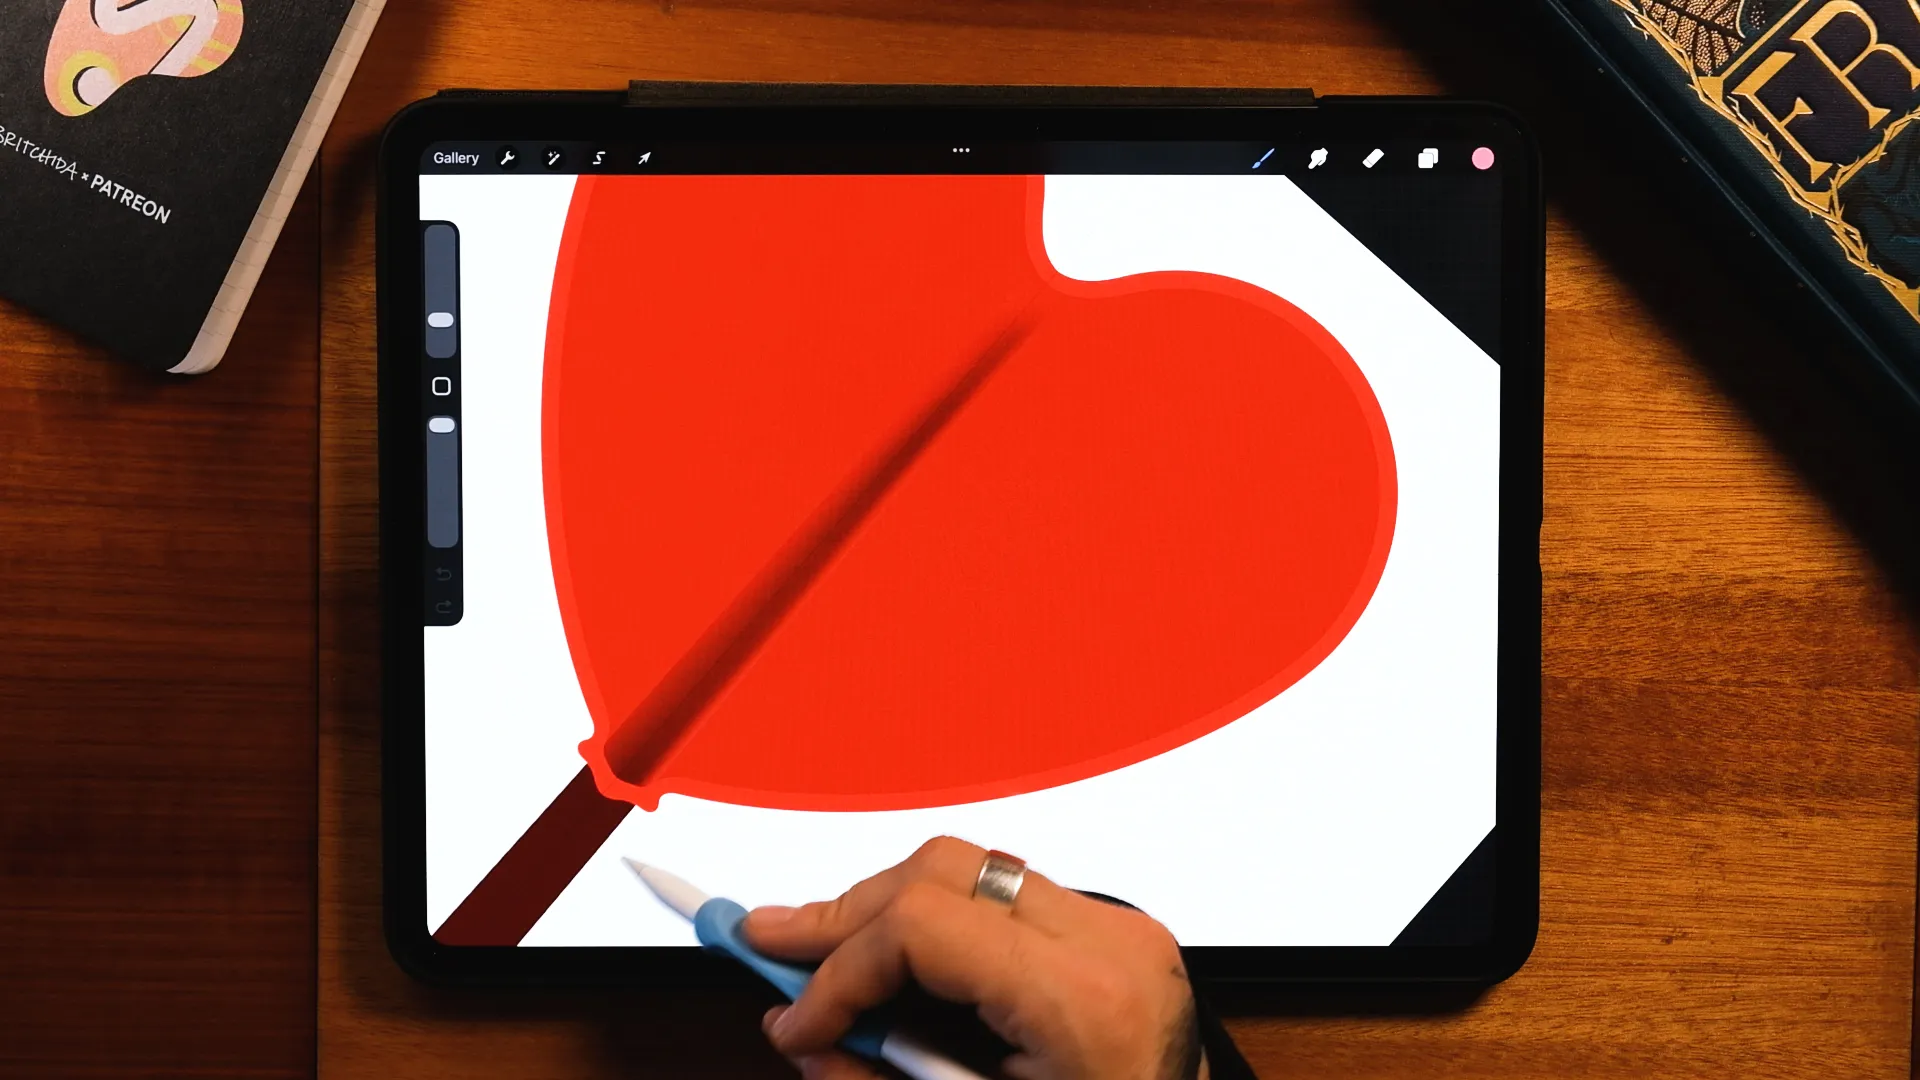
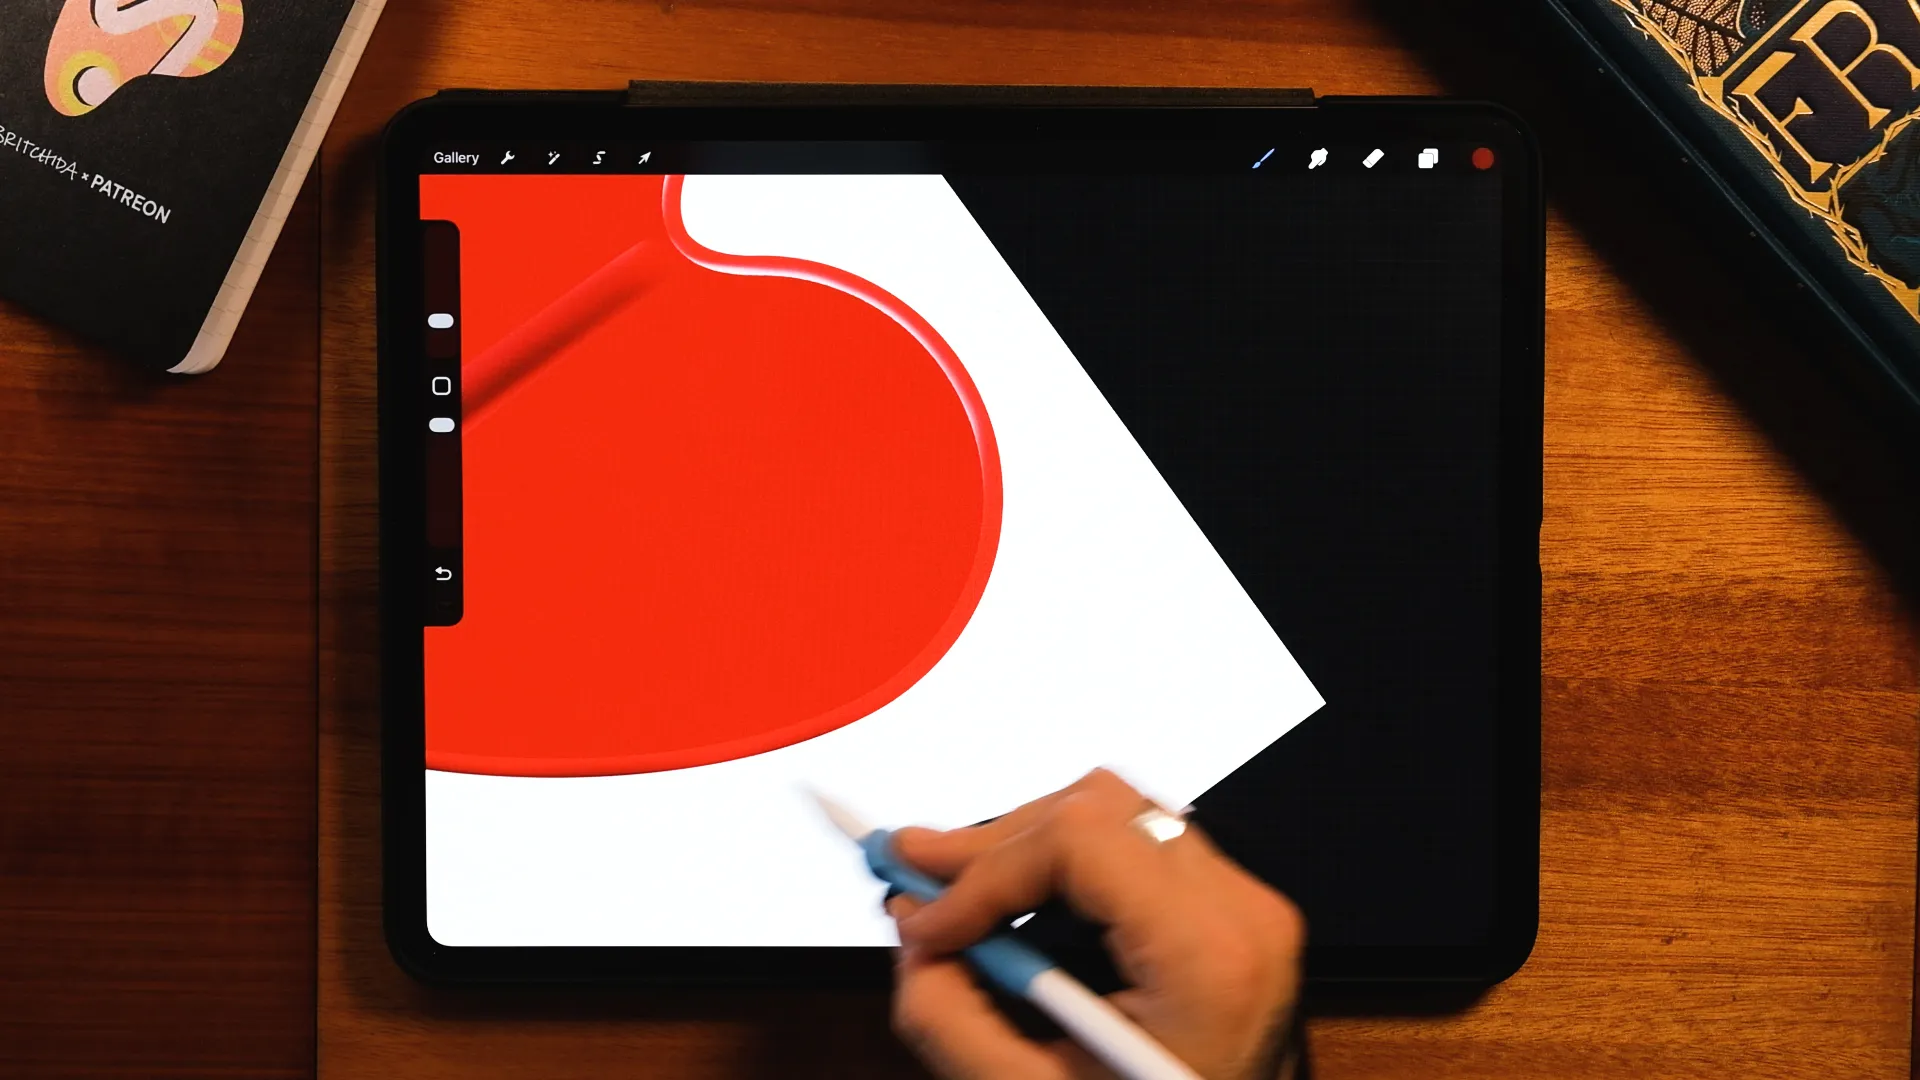
3. Draw the Heart Base
Using a clean brush:
- Draw half of the heart shape
- Refine the silhouette
- Use ColorDrop to fill it
Keep the shape simple. Realism comes from lighting, not from over-detailing the outline.
4. Add the Stick
On a new layer:
- Draw two straight lines (hold your pencil down to snap)
- Connect the bottom
- Fill with color
Then reposition the stick so it sits naturally behind the heart.
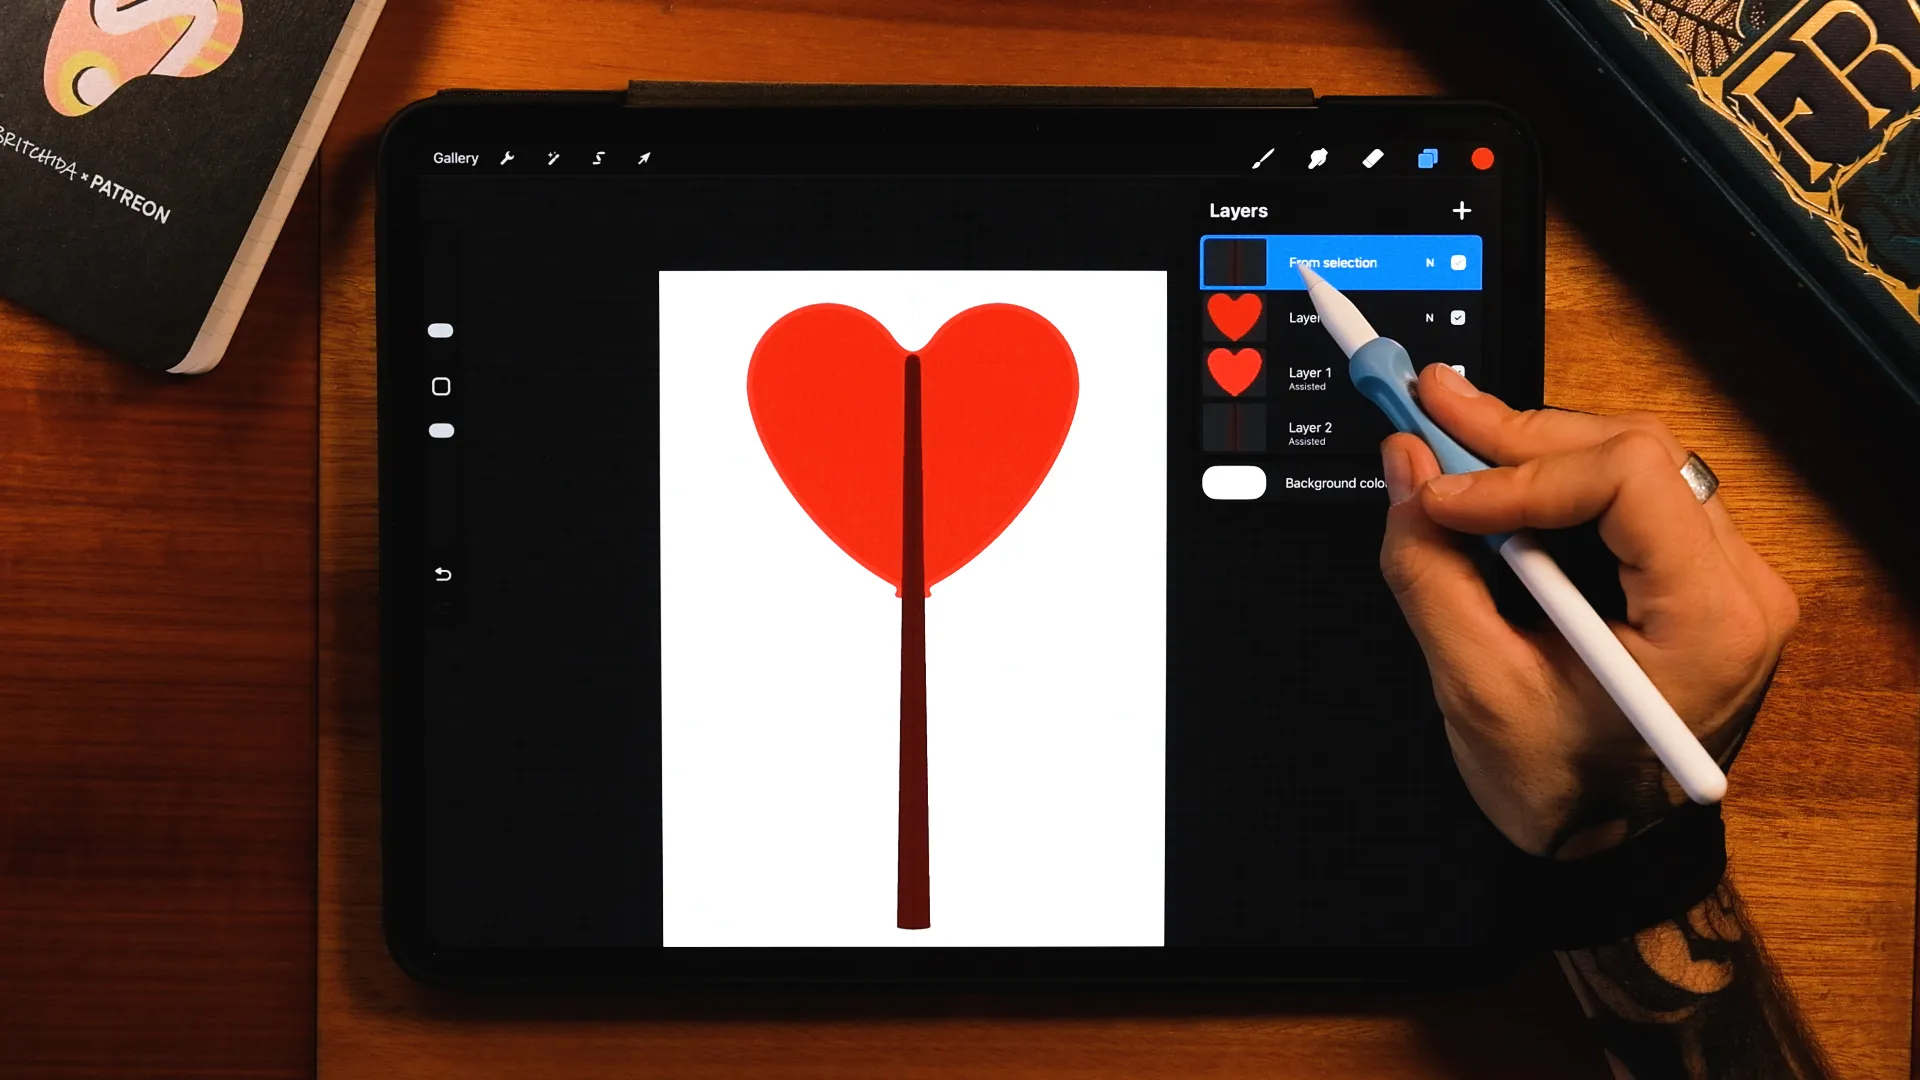
Select on your heart's layer. Now tap on the little thumbnail and tap on "Select"
Now select the stick, slide three fingers down the screen and select "Cut & Paste"
Create a new layer on top of both parts of the stick. Tap on both layers and make them into "Clipping Masks"
Now select your grainy brushes (remember to download them) or any shading brush you have and add shadows and lights
5. Create Dimensional Depth (Easy Method)
Duplicate the heart layer.
Apply a light Gaussian Blur to the duplicate.
Use the selection tool to create a slightly darker inner shape.
Create a new layer and drop a color using your current selection.

This becomes your dimensional core and gives the candy its thickness.
Now erase the blurred out layer.
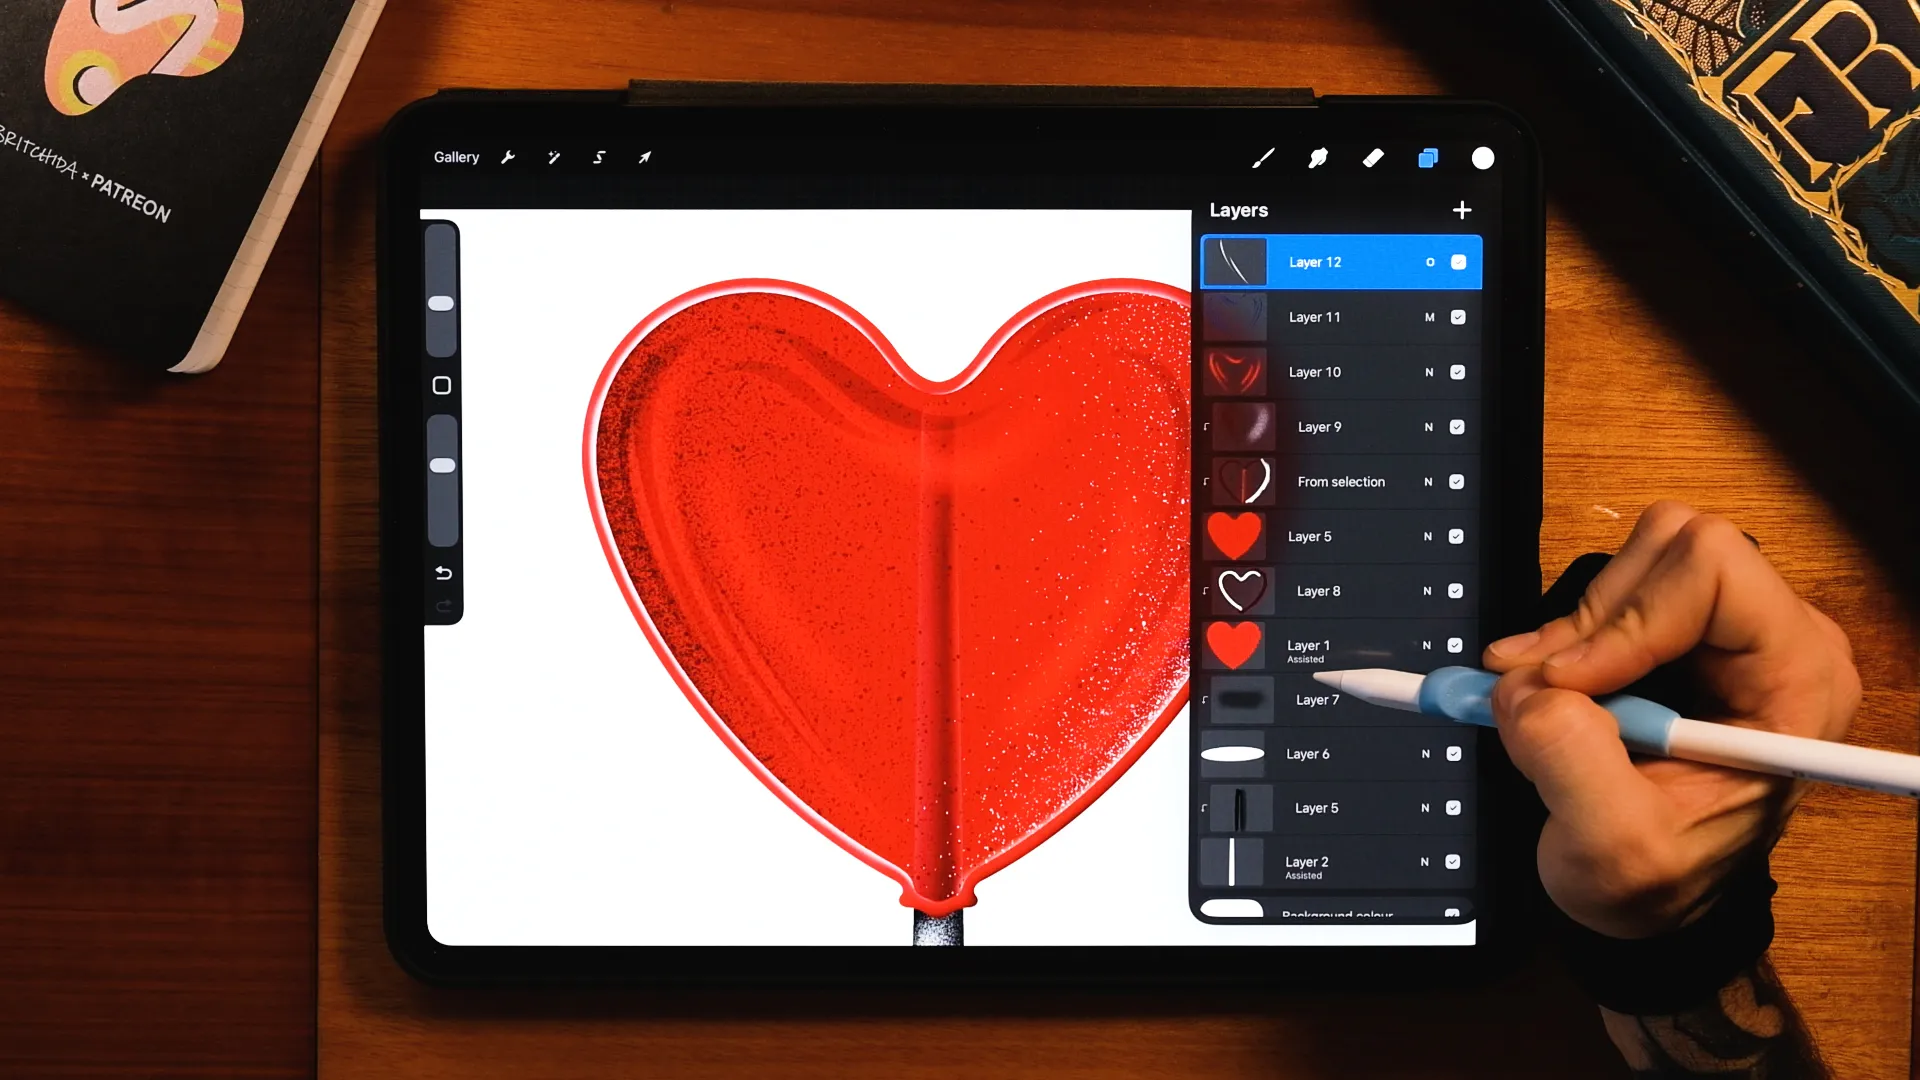
6. Start Shading
Alpha Lock or create a Clipping Mask.
Shade softly:
- Lighter on the light side
- Darker toward the opposite edge
Candy shading works best when it’s subtle and controlled. Avoid harsh transitions.
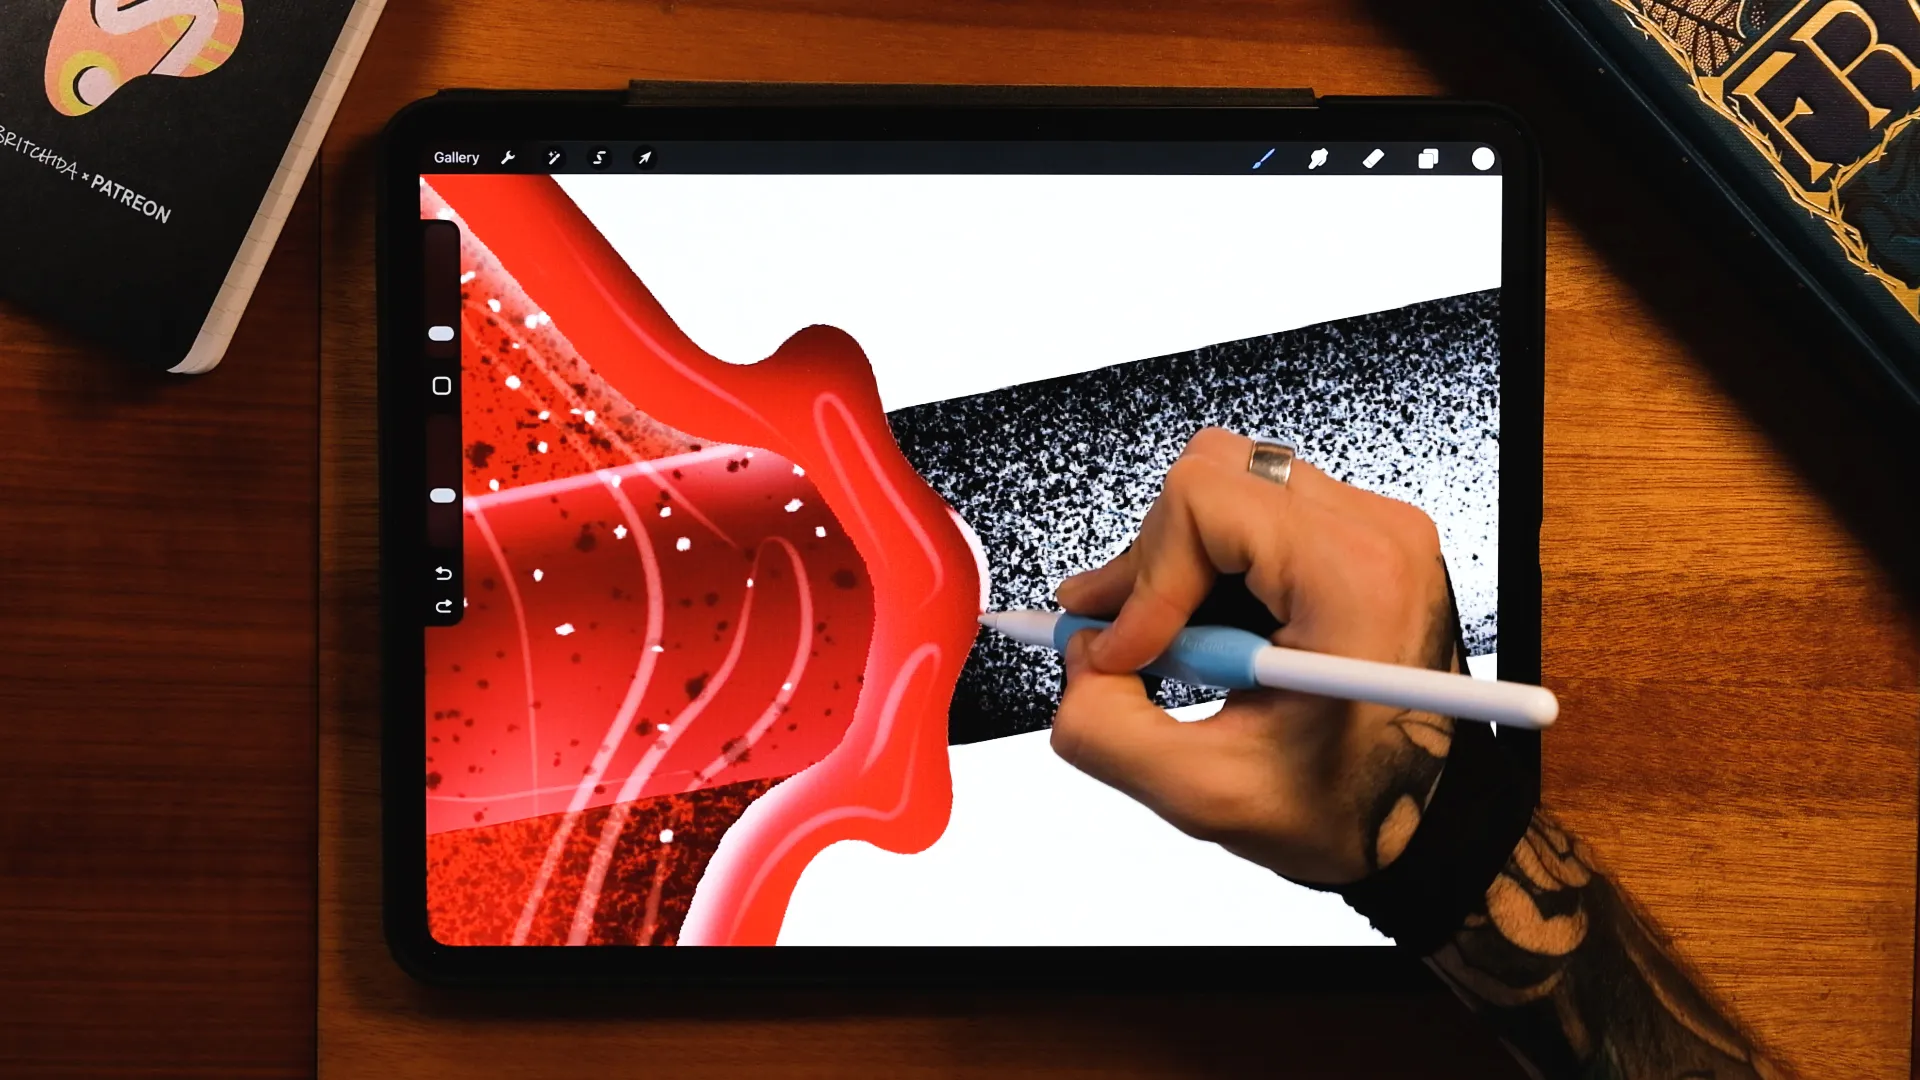
7. Add Texture
You can keep the lollipop ultra-clean.
Or add subtle grain using texture brushes for a slightly more organic, realistic look! Especially on the stick.
Grain adds depth without destroying the glossy feel.
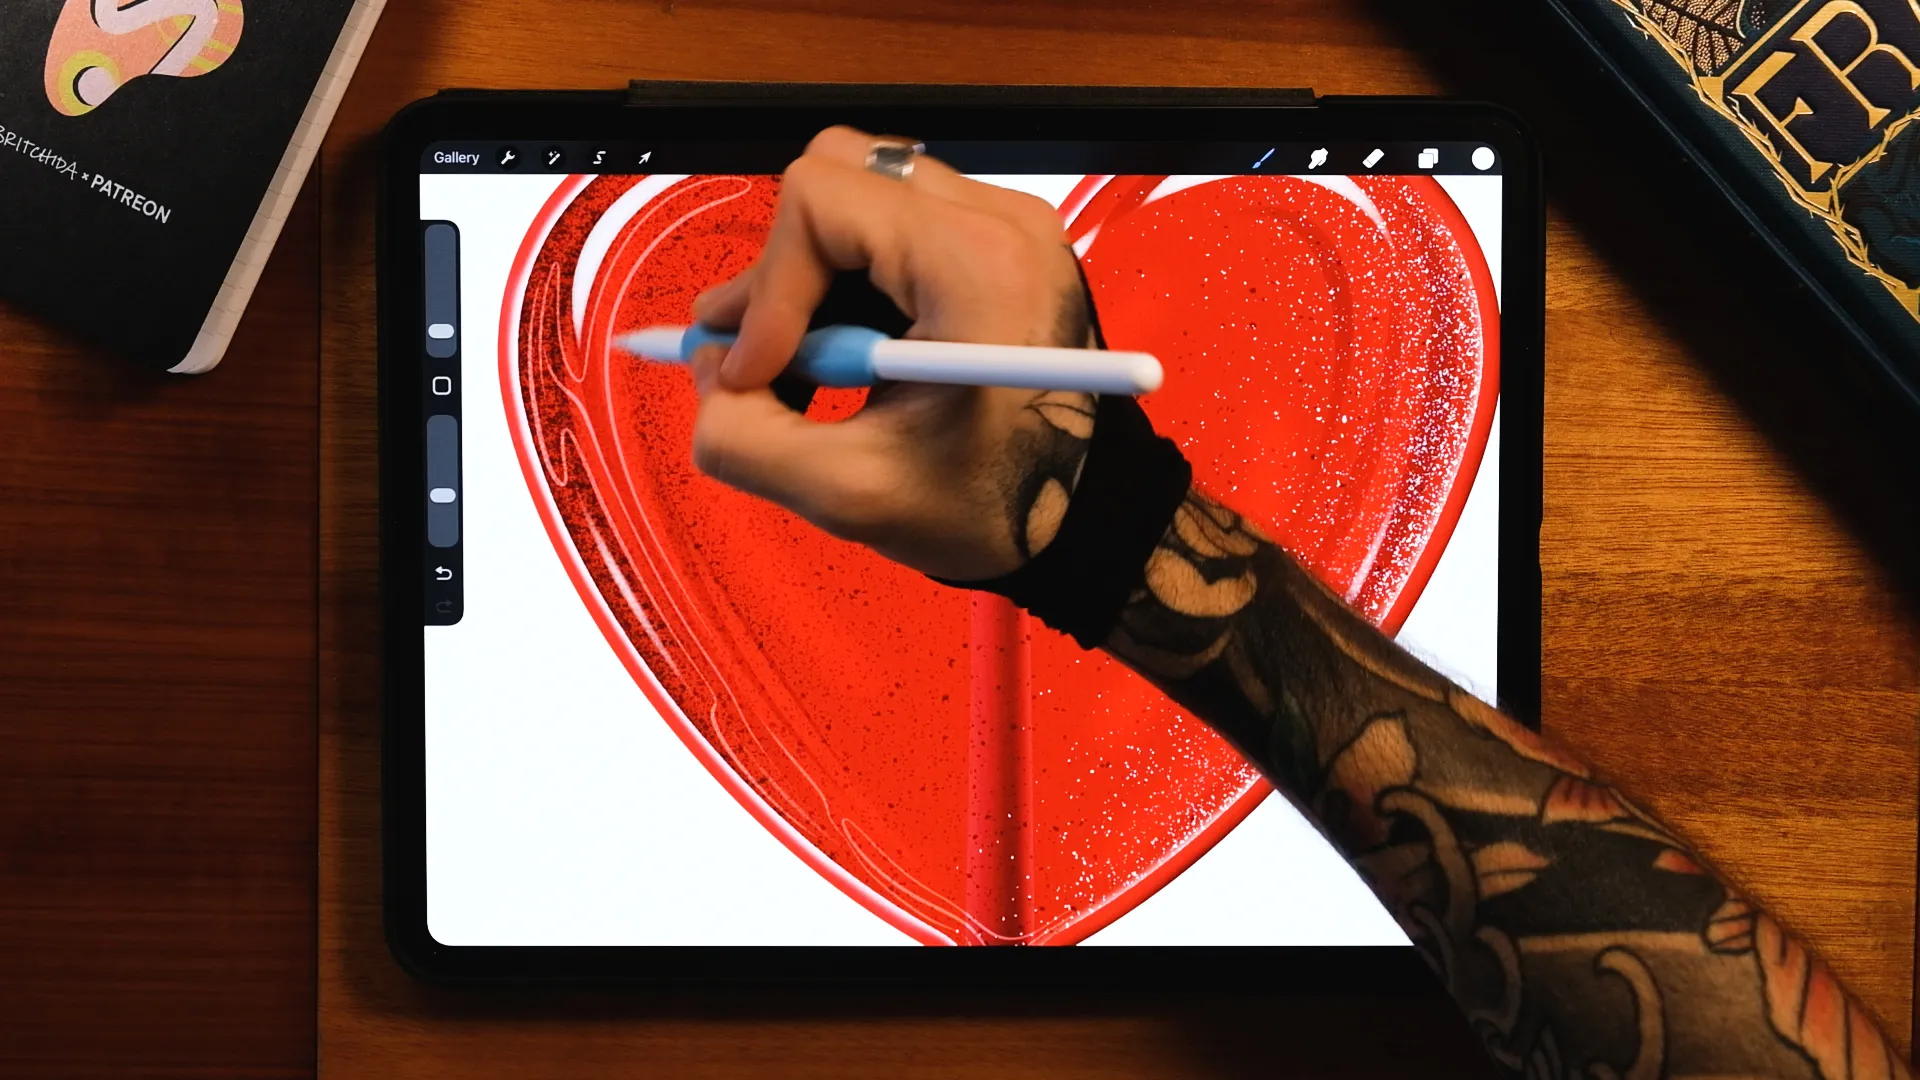
8. Paint the Reflections
This is where it becomes candy.
Add:
- A soft rim highlight on the light side
- A darker band shadow on the opposite side
- Thin vertical light streaks
Stack reflections gradually instead of drawing one giant highlight. Real glass has layers of light.
9. Use Blending Modes for the Candy-Glass Effect
This is the key to achieving that glossy Procreate finish.
Use multiple layers with:
- Multiply → soft shadows
- Overlay → bloom and glow
- Add → punchy specular highlights
Add random light hits as if studio lights were reflecting off the surface. This is what makes it feel dimensional and transparent.
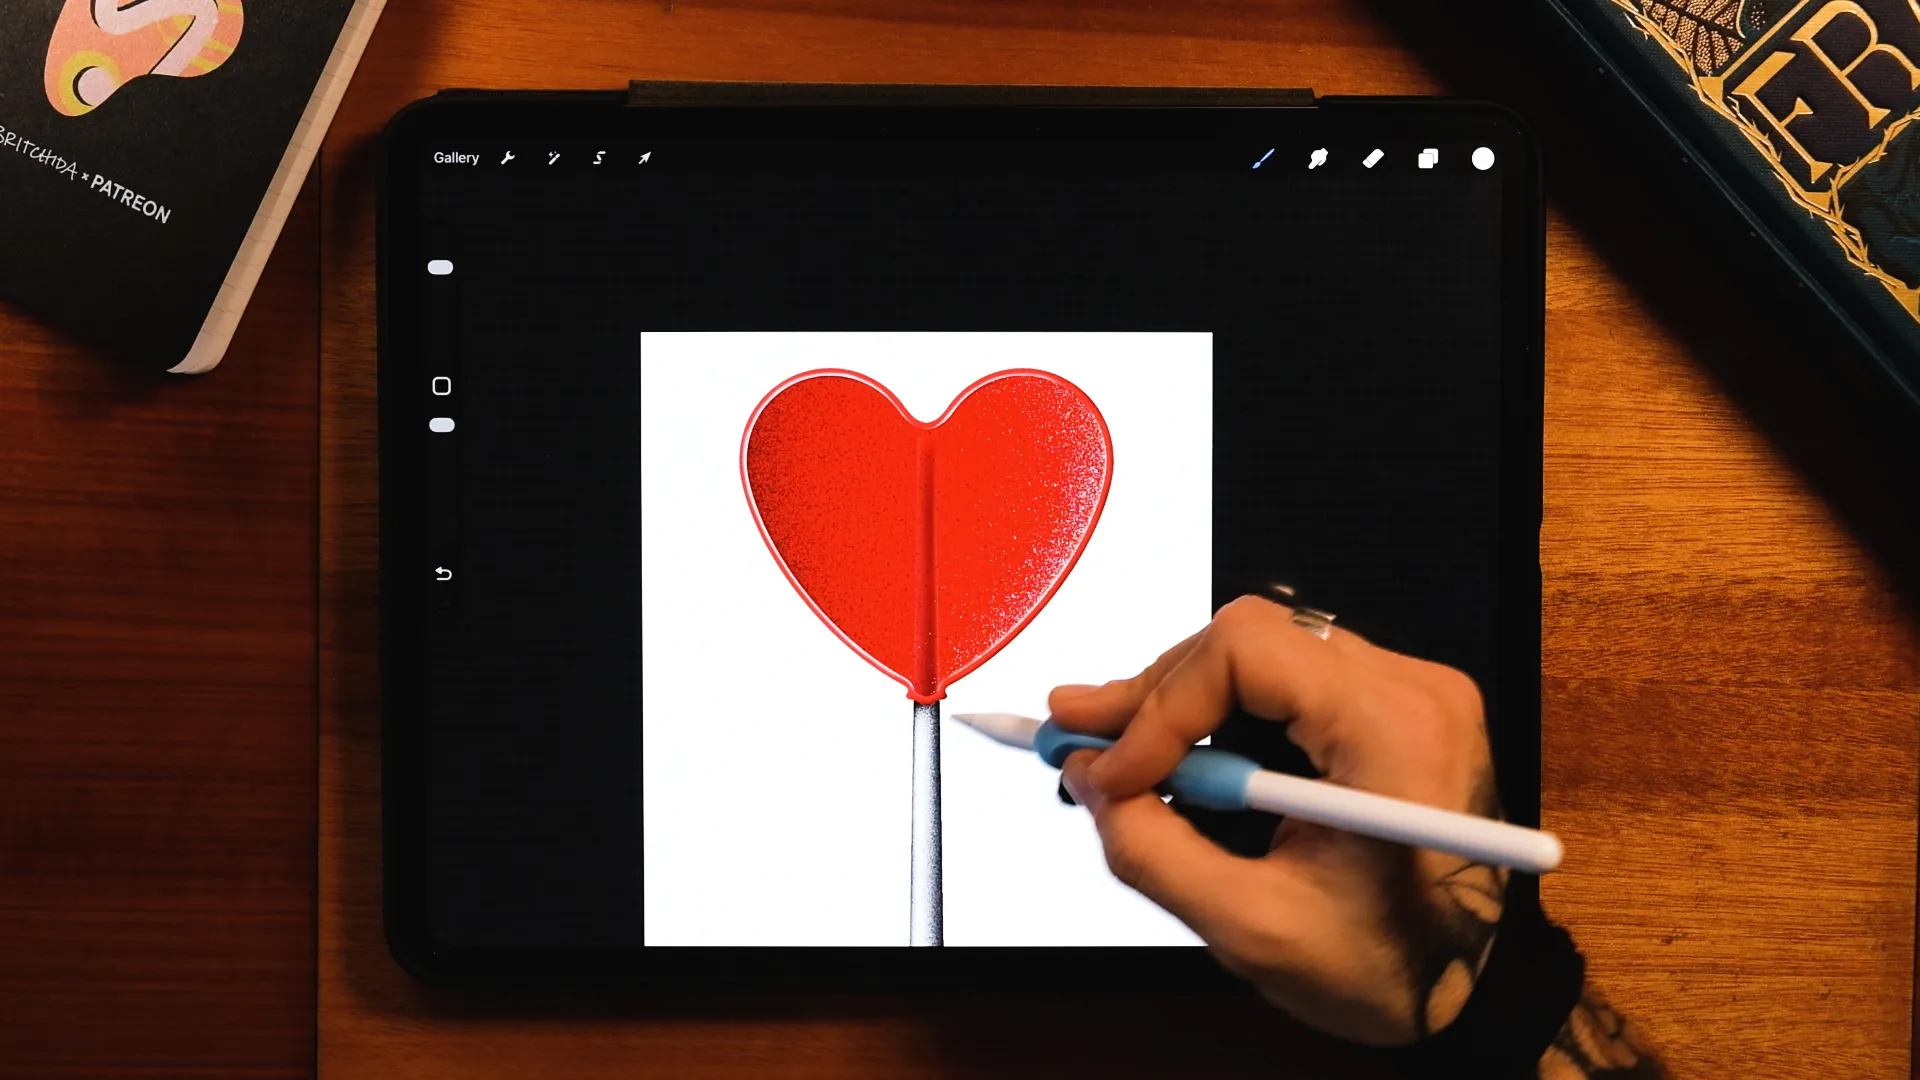
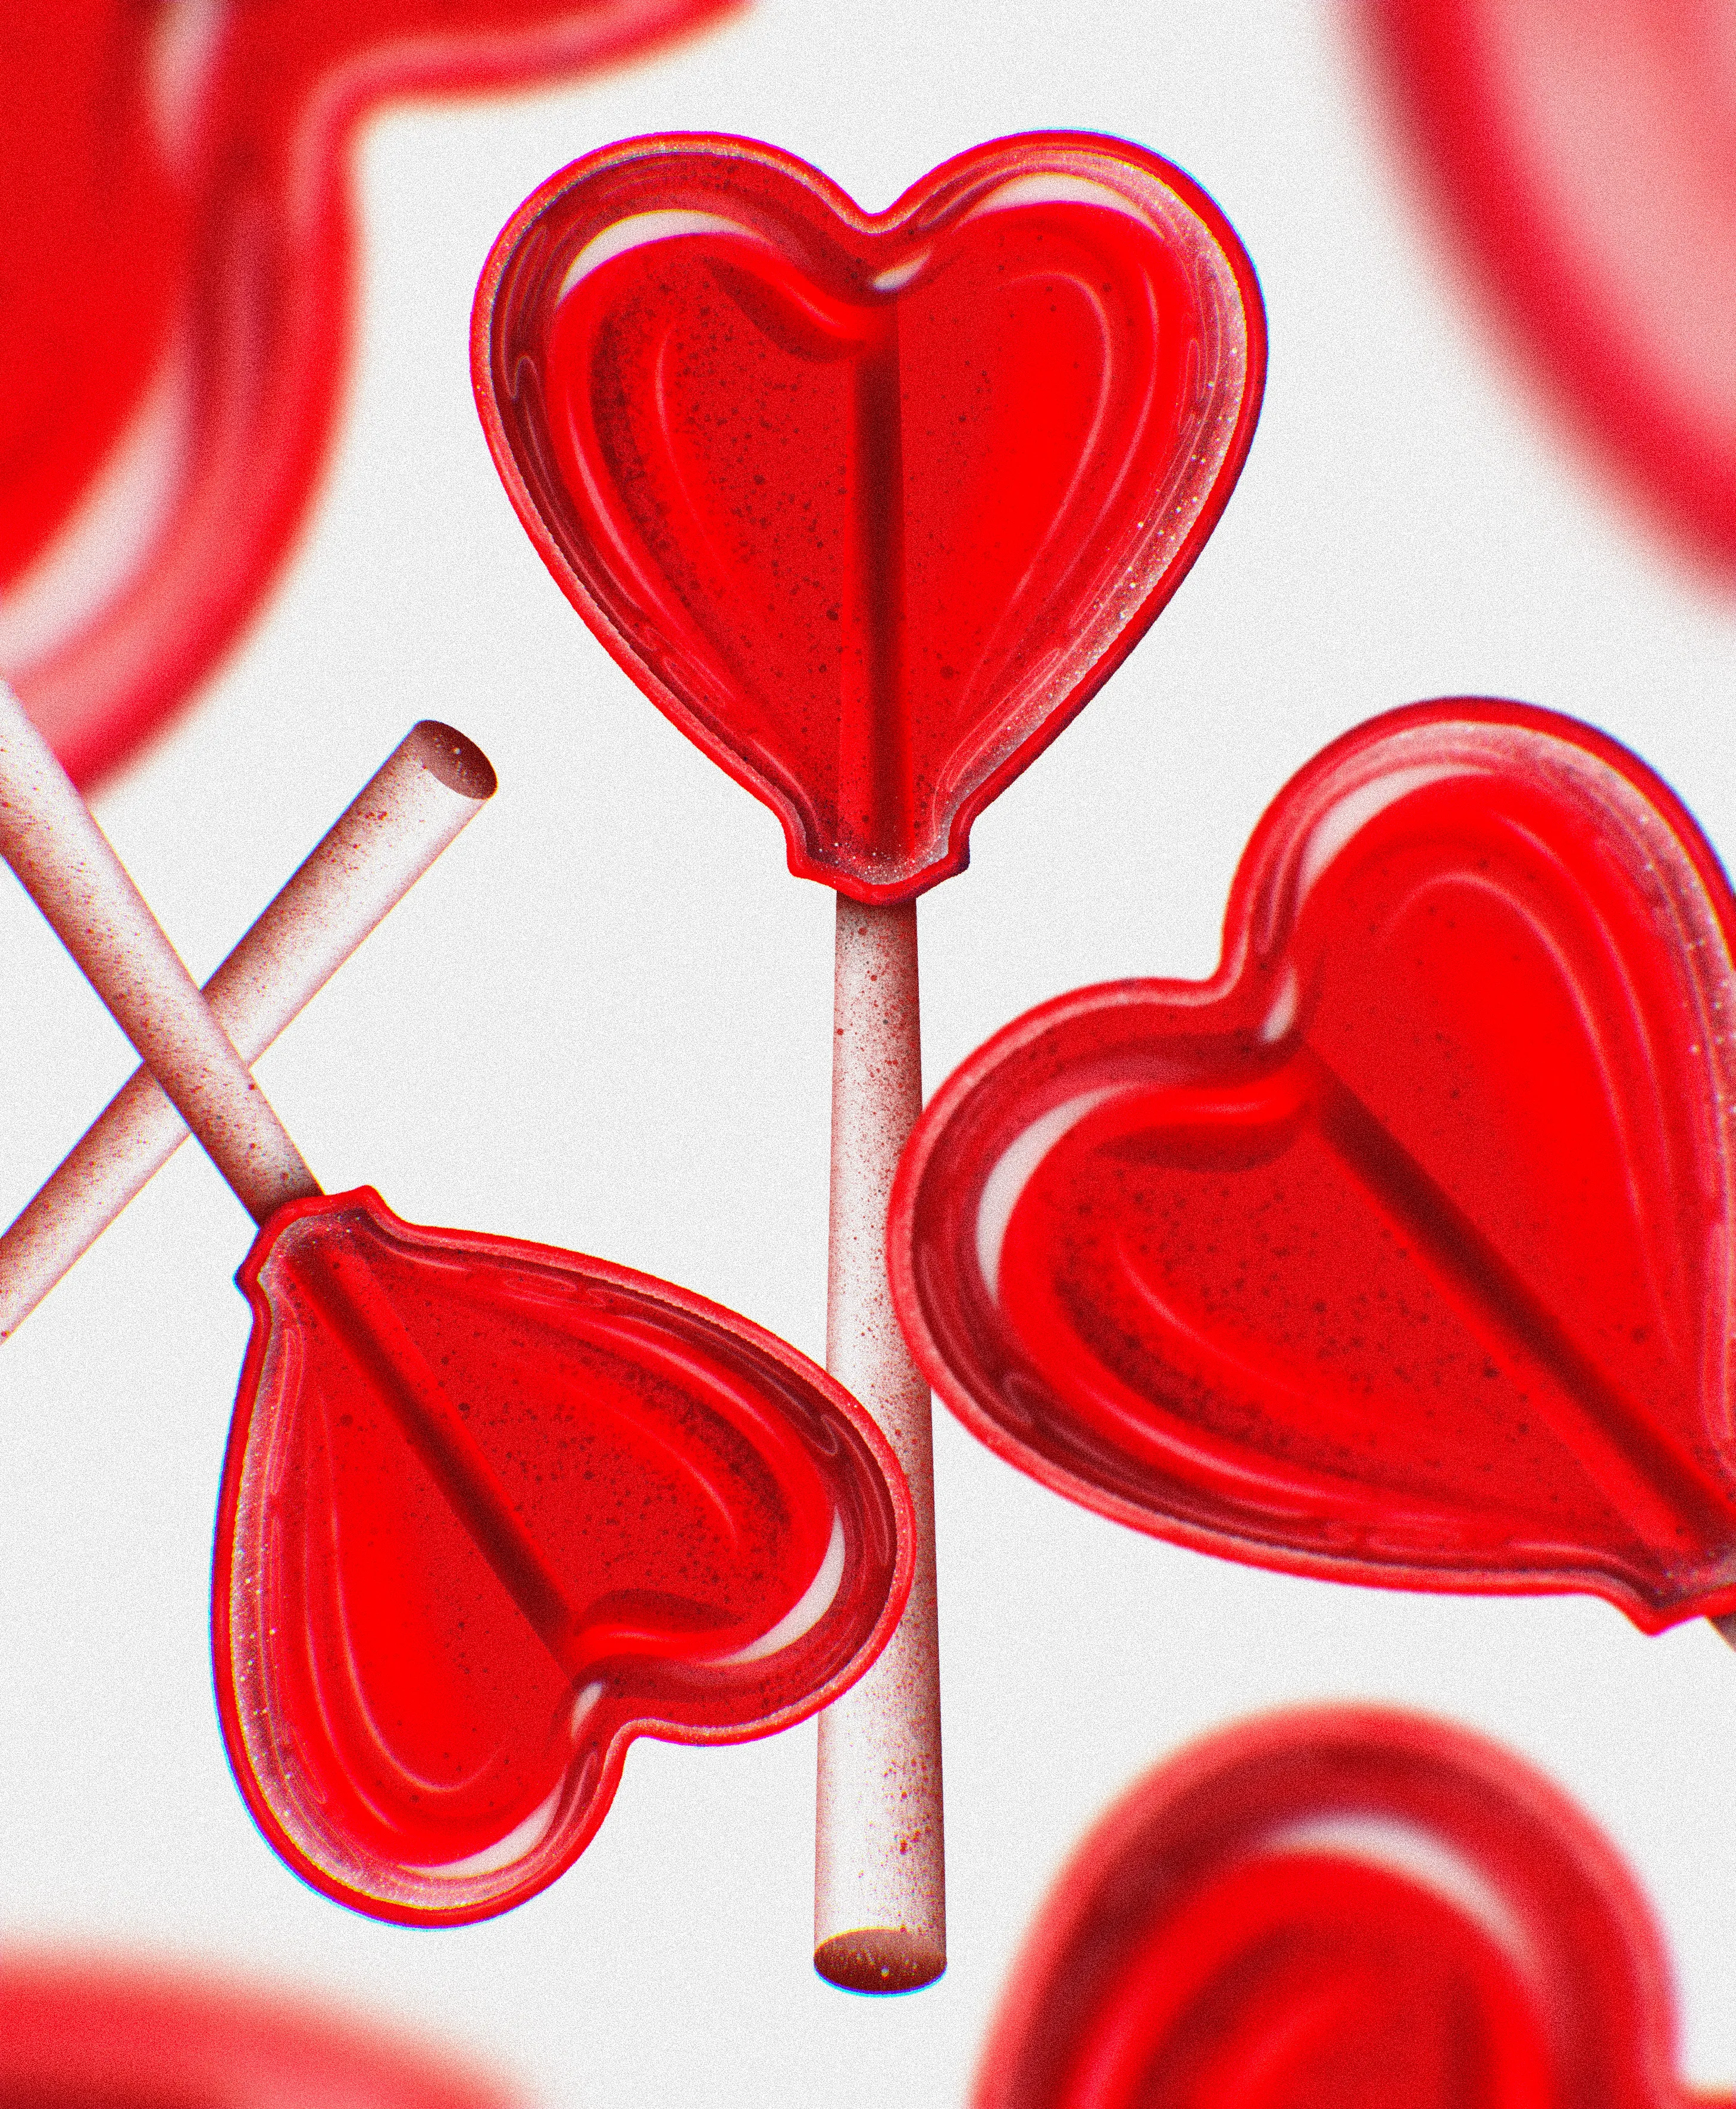
10. Final Polish
Add small highlights to the stick.
Adjust contrast.
Push the brightest reflections slightly if needed.
And you’re done 🍭
Take It Further: 3D Lettering + RED Month
This lollipop is also part of a larger 3D lettering tutorial inside Patreon, where I show you how to integrate it into a full dimensional composition layered with grain, cast shadows, lighting, and lens flares.
If you want to explore more Procreate lettering effects, you can also check:
THE END!
We really hope you enjoyed this and that you made some beautiful illustrations. You can always leave a comment or reach out to us on Instagram @jimbobernaus if you want to leave feedback or tell us if you would like to learn something particular. We would love to help you out!
We wish you a spectacular day with a taste of creativity.
Join our Newsletter Community, to get access to all of our freebies, including free Procreate Brushes, Textures, Fonts, and other fresh stuff!
FAQ
Is this Procreate tutorial beginner-friendly?
Yes. The structure is simple and approachable. The realism comes from layering light, not complex drawing skills.
Do I need your brush set?
No. Any clean brush works. The free set just makes it easier to match the exact look.
What blending modes are most important for glossy effects?
Multiply (shadows), Overlay (soft glow), and Add (specular highlights).
Can I use this for other candy or glass objects?
Absolutely. This same light stack works for candy letters, glass lettering, glossy typography, and 3D illustration effects.
If you try it, tag me or share your result. I’d love to see your version of the glossy heart lolli!