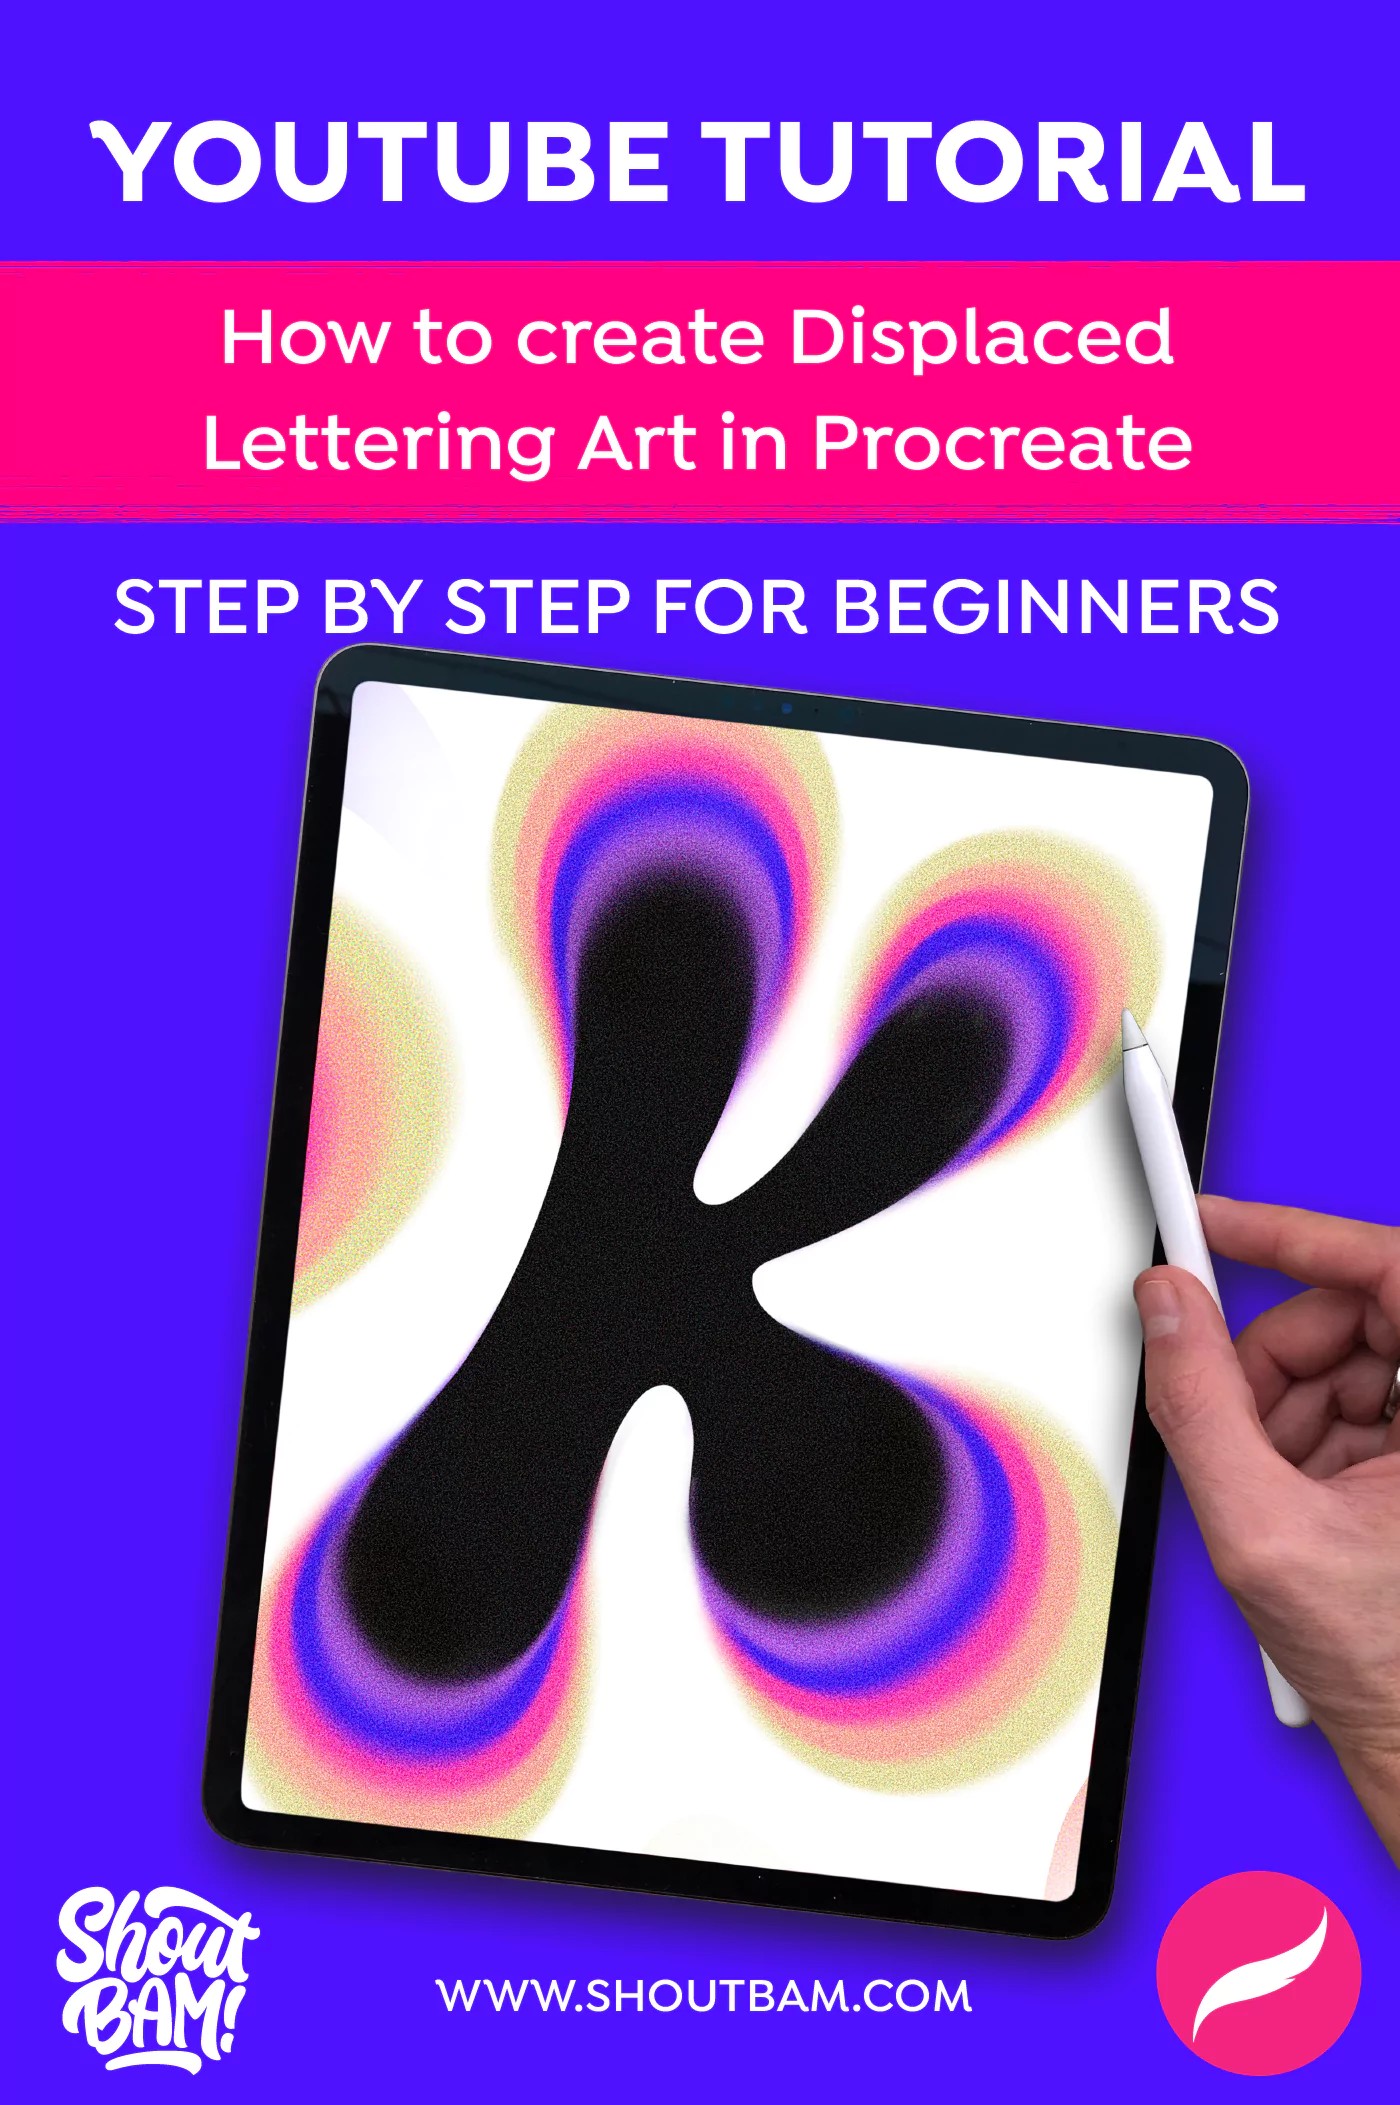
In this video you will learn how to create a displaced letter using Directional and Gaussian Blur in Procreate.
Here's the LINK to the color Palette we're using.
And here's the LINK to become a member of our Community Newsletter and download Free Brushes.
_________________________________
No prior experience with Procreate is necessary, as we'll provide step-by-step instructions to make it easy for you!
Whether you're an experienced artist or a complete beginner, this step-by-step tutorial will make it easy for you to create captivating lettering styles without any prior experience in Procreate.
Step 1: Getting Started
To begin, open Procreate and create a new canvas with the dimensions 30 centimeters width and 22 centimeters height. Setting the DPI to at least 300 will ensure high-quality printing later on.
Step 2: Typography Exploration
Start by playing around with various typography options. Select a letter of your choice; in this tutorial, we'll use the letter "K" in an italic font style. Place it in the center of the canvas using the transform tool.
Step 3: Sketching the Letter
Using a pencil brush from the calligraphy native brushes, sketch your letter "K" on top of the typography. Don't worry about perfection; a freestyle approach works best. Ensure the letter has rounded corners for a better effect.
Step 4: Inking the Letter
Next, switch to a script or monoline brush from the calligraphy brushes. Carefully ink the letter, drawing single lines and connecting them smoothly. You can adjust the stabilization setting in the brush studio to improve your curves' control.
Step 5: Adding Color Layers
Now, create five layers beneath the inked "K," each representing a different color. Use the color palette provided or pick your own colors. Fill each corner of the letter with a unique hue, making the transitions smooth.
Step 6: Applying Perspective Blur
Select each color layer and apply perspective blur using the adjustments. Move the blur circle to the desired position, adjusting the blurriness until it complements your letter's shape. Gaussian blur can be added for more refinement.
Step 7: Final Touches
Merge all color layers to get a uniform look. Duplicate this group, flatten it, and apply noise to add a textured effect to your artwork. Adjust the saturation to your preference.
Step 8: Creative Elements
Enhance your artwork by adding creative elements such as drops, dots, and other details using various colors to fill any empty spaces and create a dynamic composition.
Congratulations! You've successfully created stunning lettering art in Procreate, and now you have the skills to make your artworks unique and eye-catching. Remember to experiment and explore different techniques to develop your own style.
Don't forget to subscribe to our YouTube channel for more exciting tutorials and join our newsletter for access to freebies and exclusive content.
If you wish to support our work and gain additional benefits, consider becoming a Patron on our Patreon page.
PIN THIS IMAGE TO SAVE THE TUTORIAL IN YOUR PINTEREST!